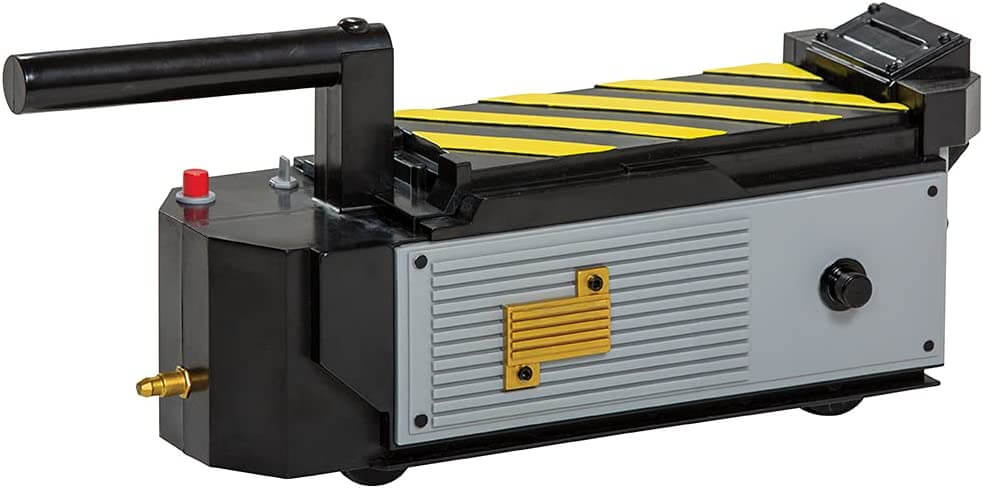
Ghostbuster Trap – 3D Model
Process:
Reference Images: I gathered reference images of the Ghostbuster trap from various angles to ensure accurate modeling.Setting Up the Project: I created a new project in Maya and organized my files and assets.
Basic Shapes: I started by creating basic shapes using polygonal modeling techniques. I used cubes, cylinders, and other primitives to form the main body, handles, and other components of the trap.
Extrusion and Edges: I refined the basic shapes by extruding and manipulating vertices, edges, and faces to create the detailed geometry of the trap. I focused on the trap’s intricate details, such as buttons, knobs, and engraved patterns.
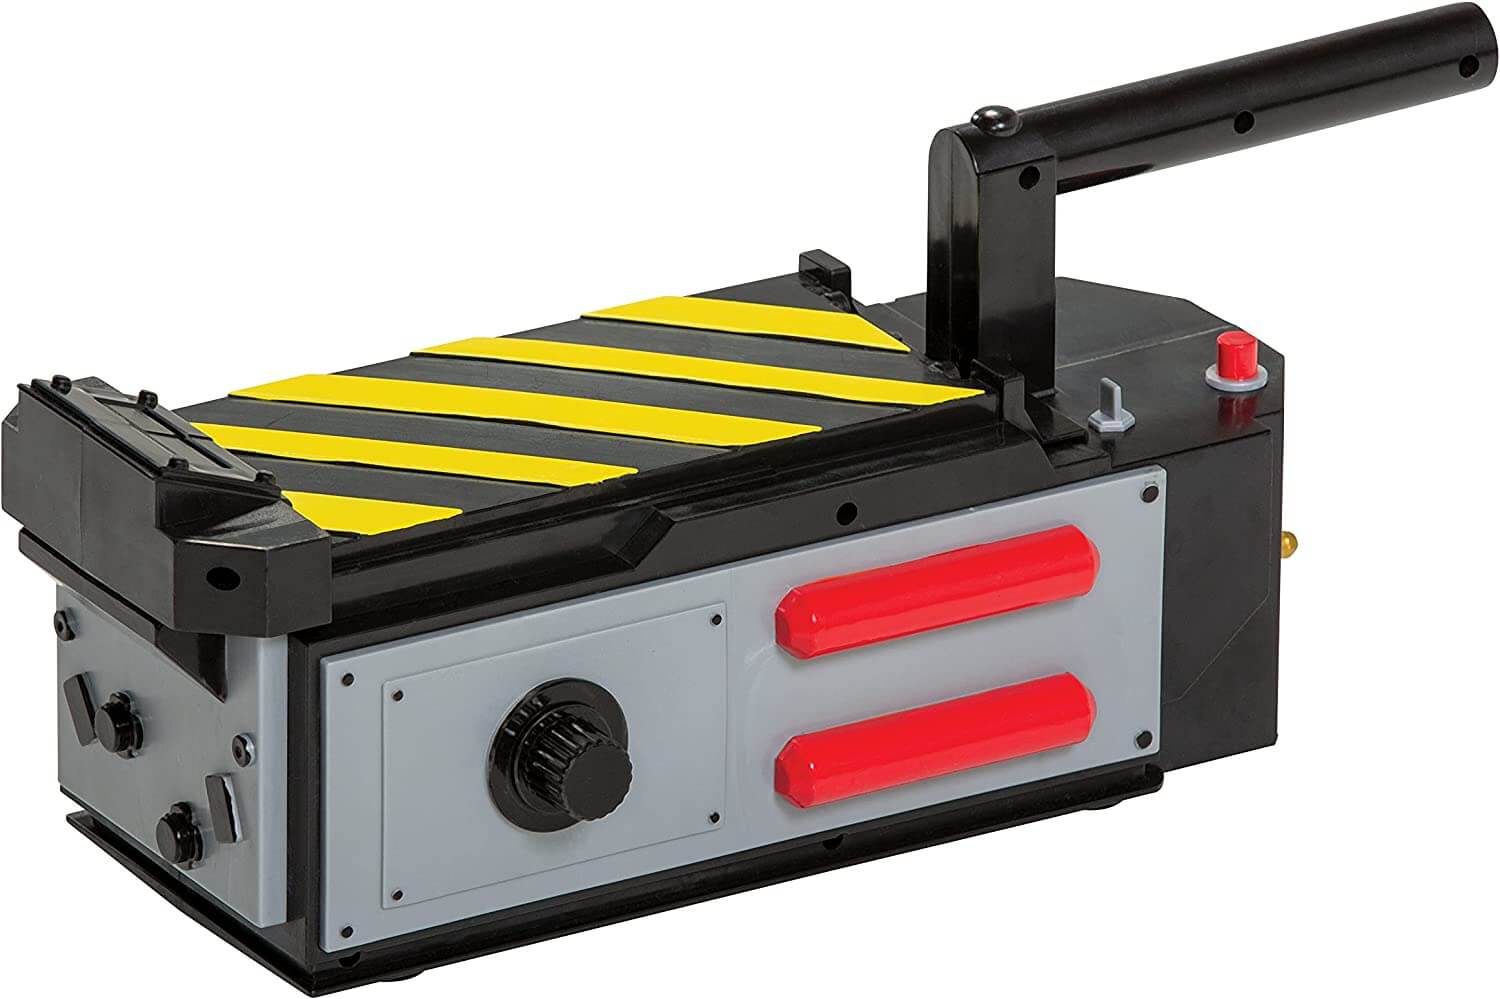
Smoothing and Subdivision: I applied smoothing techniques and subdivision surfaces to achieve a more polished and organic look for the model. This helped to refine the overall shape and smooth out any rough edges.
Fine Details: I added fine details, such as screws, bolts, and labels, using additional modeling techniques like boolean operations and creating custom shapes.
UV Mapping: I unwrapped the model’s geometry to create UV coordinates. This allowed for the application of textures and materials accurately.
Texturing and Shading: I applied textures and created materials to give the trap realistic appearances. I used a combination of procedural textures and image-based textures to achieve the desired look.
Lighting and Rendering: I set up appropriate lighting for the scene to showcase the trap accurately. I experimented with different lighting setups and adjusted the materials and textures accordingly. Finally, I rendered the scene to create the final image or animation.